Understanding Interior Painting Basics
When transforming living spaces, one of the most impactful changes you can make is through interior painting. This essential home improvement technique not only alters the aesthetics of your home but also influences the mood and atmosphere of any room. Whether you’re diving into a DIY project or hiring a professional, familiarizing yourself with the basics of interior painting can set the foundation for a successful outcome.
What is Interior Painting?
Interior painting refers to the process of applying paint to the walls, ceilings, and other surfaces within the interior of a building. This includes various structural elements such as doors, window frames, and baseboards. The choice of colors, finishes, and methods can significantly influence the overall look and feel of a space. Painting isn’t just about aesthetics; it also serves functional purposes such as protection against moisture, pest infiltration, and creating an appealing environment.
Why Interior Painting Matters
Interior painting is more than a cosmetic upgrade; it plays a crucial role in maintaining a home’s value. A well-executed paint job can enhance curb appeal, improve indoor air quality, and create a fresh, inviting atmosphere. With the right colors, you can also affect psychological perceptions, creating calm or energizing spaces depending on your preferences. Moreover, painting can help protect surfaces from wear and tear, ensuring longevity and durability.
Common Types of Interior Paint Finishes
Understanding different paint finishes is essential for achieving the desired effect and functionality within your interiors. Some of the most common finishes include:
- Flat/Matte: Ideal for hiding imperfections, this finish absorbs light and is often used on ceilings and low-traffic walls.
- Eggshell: With a subtle sheen, eggshell is durable and washable, making it a popular choice for living rooms and hallways.
- Satin: Slightly glossier than eggshell, satin provides good durability and is perfect for kitchens and bathrooms.
- Semi-Gloss: Often used for trim, doors, and moldings, semi-gloss is highly durable and easy to clean.
- High-Gloss: This reflective finish provides an elegant shine and is typically used in high-impact areas or to highlight architectural details.
Preparing for Your Interior Painting Project
Preparation is key for a successful interior painting project. Skipping steps in this phase can lead to unsatisfactory results, including peeling paint and uneven surfaces. To help streamline the process, follow these essential preparatory steps.
Essential Tools and Supplies for Interior Painting
Before you start your project, ensure you have the right tools and supplies at your disposal. The essential items include:
- Paint brushes: A variety of sizes for cutting in and detail work.
- Rollers: Ideal for covering larger areas efficiently.
- Painter’s tape: Helps achieve clean lines and prevents paint from bleeding onto adjacent surfaces.
- Drop cloths: Protect your floors and furniture from paint splatters.
- Painters’ trays: For easy paint access and application.
- Primer: Essential for preparing surfaces, especially when switching from dark to light colors or painting over stains.
- Paint: Choose a quality paint suited for your specific surfaces and desired finish.
- Ladder: For reaching higher surfaces like ceilings or upper walls.
- Cleaning supplies: Keep rags and solvents handy for any spills or equipment cleaning.
Surface Preparation: Cleaning and Priming
A crucial step before applying paint is proper surface preparation. Begin by cleaning the walls to remove dust, grease, and dirt. This can be done using mild detergent mixed with water and a sponge. For areas with heavier stains, consider a stronger cleaning solution.
Once clean and dry, assess the surface for any imperfections such as cracks or holes. Fill these using spackle or joint compound, allowing adequate time to dry and sanding smooth when finished.
Priming is an essential step that shouldn’t be overlooked, especially for raw surfaces or drastic color changes. Primers enhance paint adhesion and coverage, allowing for a more uniform finish.
Choosing the Right Color for Your Space
Selecting the right color can be one of the most enjoyable yet challenging aspects of interior painting. Consider the mood you want to create and the overall theme of your home. Cooler colors like blues and greens tend to create a calming effect, while warmer tones like reds and oranges can energize a space. It’s advisable to test samples on the walls before making a final decision, as lighting and surrounding colors can affect how a paint color looks on the walls.
Don’t forget about the color wheel. Complementary colors can create a harmonious environment, while contrasting colors can add vibrancy and depth. Remember the size of the room plays a role too; lighter colors can make a small space feel larger, whereas darker shades can provide a cozy ambiance.
Techniques for a Professional-Looking Finish
Achieving a professional look requires both the right techniques and the proper tools. Whether you choose to do it yourself or hire pros, knowing the techniques will help you understand the process.
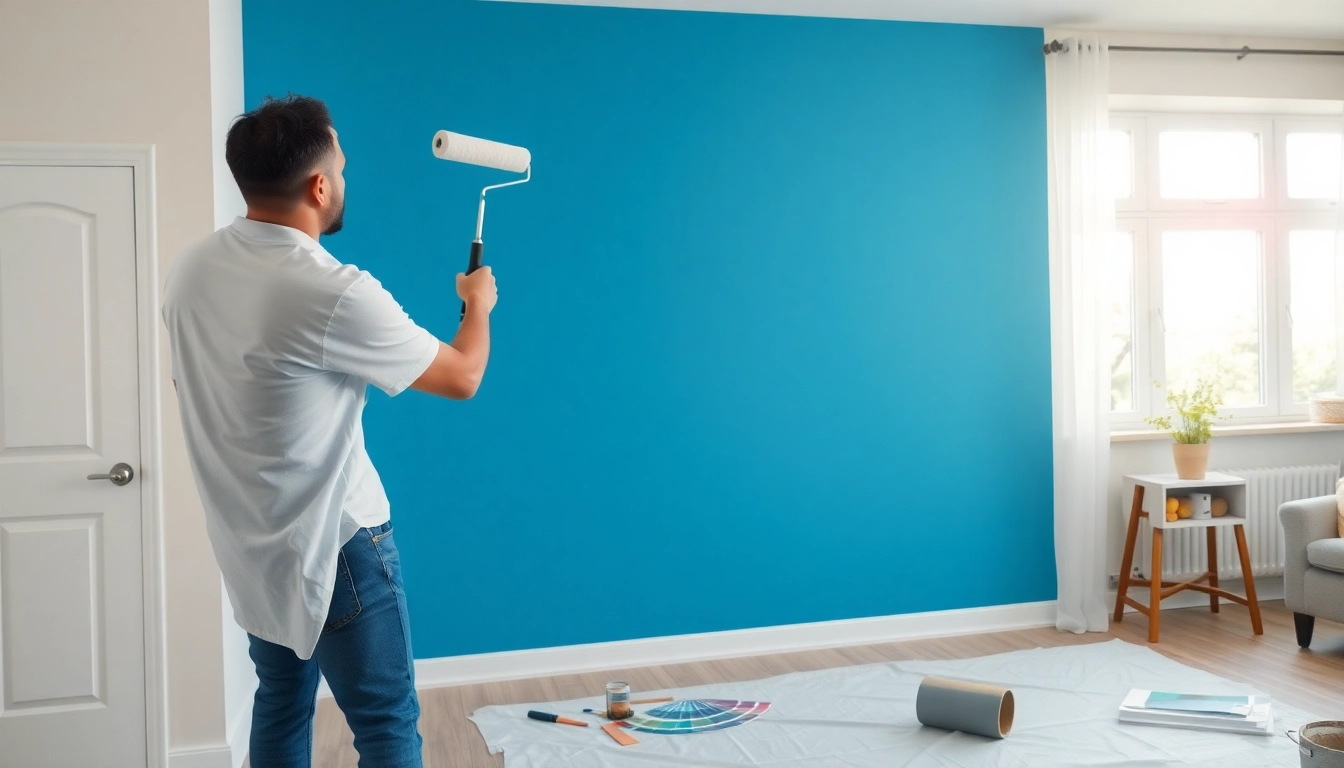
Roller vs. Brush: Choosing the Right Application Method
Deciding between a roller and a brush often comes down to the areas you are painting. Rollers are excellent for large, flat surfaces, allowing for quicker application and distribution of paint. They are ideal for walls and ceilings. Brushes, on the other hand, provide better control for detailed work around edges, corners, and trim. For best results, use a combination of both, applying with a roller on the main surfaces and a brush for borders and detailed areas.
Painting Order: Ceilings, Walls, and Trim
To ensure a neat look and avoid reworking areas, it is crucial to follow a logical painting order:
- Ceilings: Start with the ceiling first to prevent paint drips on walls.
- Walls: After ceilings, paint the walls. Work from the top down, ensuring to roll up to the edges.
- Trim: Lastly, paint the trim and any moldings. This order helps catch any accidental spills without needing to redo other areas.
Best Practices for Interior Painting
There are several best practices to keep in mind for a smoother painting process:
- Invest in Quality Tools: Quality brushes and rollers apply paint evenly and can save time in the long run.
- Work in Sections: Handle one area at a time and maintain a wet edge for seamless blending.
- Patience is Key: Allow adequate drying time between coats and avoid rushing the process.
- Leave Windows Open: Ventilation is crucial for drying and minimizing fumes.
Cost Factors in Interior Painting
Understanding the cost factors associated with interior painting can help you plan and budget more effectively. Prices can vary greatly depending on various elements, including room size, paint type, and whether you hire a professional or take the DIY route.
Average Costs for Different Room Sizes
The cost of painting varies significantly based on room size and specific needs. Here’s a general breakdown:
- Bathroom (20 – 100 sq. ft.): $60 – $400
- Bedroom (200 – 310 sq. ft.): $600 – $1,240
- Kitchen (200 – 360 sq. ft.): $600 – $1,320
- Living Room (300 – 400 sq. ft.): $900 – $1,600
These figures include labor and material costs, but they can increase or decrease based on specific requirements like special finishes or advanced preparation.
DIY vs. Hiring a Professional Painter
Deciding between managing the painting project yourself or hiring a professional can greatly affect your overall costs. DIY can be time-consuming but often saves on labor costs. Conversely, hiring a professional may incur higher expenses but can deliver superior results, especially if the project is large or requires intricate detailing. Weigh your budget against your skills and the time you can allocate to the project.
Budgeting for Paint Types and Finishes
When budgeting for paint, keep in mind that not all paints are created equal. Premium paints cost more but often offer better coverage and durability. When considering your budget, factor in not just the cost per gallon but also the coverage area. More expensive paints can minimize the number of coats required, potentially saving you money in the long run.
Maintenance and Touch-Up Tips After Interior Painting
Your interior painting project doesn’t end once the last stroke of paint is applied. Proper maintenance and touch-up strategies are essential for keeping your newly painted spaces looking fresh and inviting.
Cleaning Painted Surfaces
Cleaning your painted surfaces will help maintain the integrity and appearance of the paint. For most finishes, a damp cloth or sponge with mild detergent is adequate. Avoid harsh chemicals that may damage the paint. Regular dusting and spot cleaning can greatly enhance the longevity of your paint job.
When to Repaint Your Interior
Understanding when to repaint is vital for maintaining your home’s aesthetic appeal. Typically, repaints are necessary every 5–10 years, although high-traffic areas like hallways and kitchens may require more frequent touch-ups. Signs that it’s time to repaint include fading, peeling, or noticeable stains on walls.
Touch-Up Techniques for Minor Imperfections
Minor imperfections like nicks and scratches are common after a paint job. For small touch-ups, ensure you use the exact paint used in the original job. Spot priming is often beneficial before applying the final coat on the touched-up areas to ensure color consistency and adherence.